How to draw amazing illustrations with just your iPhone and your fingers
How to draw an illustration with an iphone and a finger that anyone can do法。
This time, for those who want to draw well but don't know how to do it, I will introduce how to draw well with just an iPhone and your fingers.します。
Even people like me who can't draw at all can draw like a pro with this method.ます。
preparation for drawing
prepare the picture you want to draw
First of all, prepare the photos and pictures you want to draw in the form of saving them on your iPhone.い。
It doesn't matter if it's anime One Piece or a landscape self-portrait.ん。

For example, in my case, I like the anime Fairy Tail, so I borrowed the original author Hiro Mashima's graffiti.した。
download the app


next from hereら「procreate pocket」Please download the app called。
Unfortunately, this app will be charged (360 yen at the time of article posting)す。
I think there are various free apps, but I have only used this one myself, so this time I will introduce it using this app.ます。
Make layer settings
When the download is complete, download the app and display the TOP pageす。
Click the button on the top right to add a pageしょう。

After adding, press the thunder mark button on the upper left this timeします。

An advanced tool will appear, so select an action from itす。

「Select Insert existing photo and select the first image you choseます。

Then you can change the image size, so adjust the size so that it fits properly on the screenす。

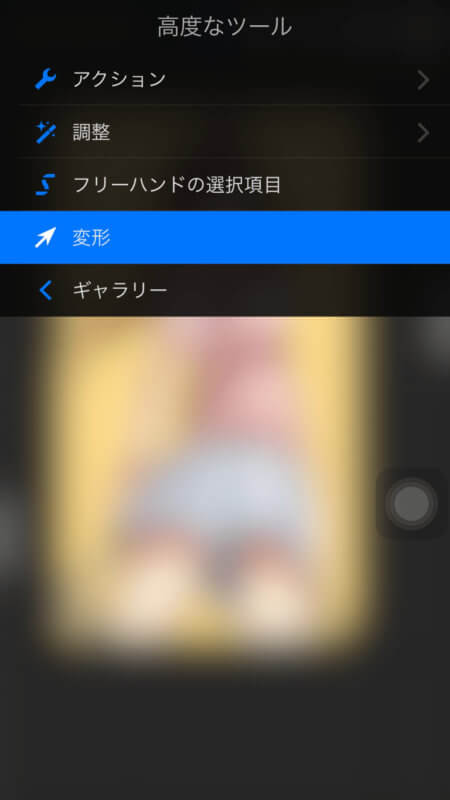
If it is difficult to decide the image position, you can adjust it later by transforming from the thunder mark on the upper left.能です。
After transforming, click the second layer button from the top rightす。
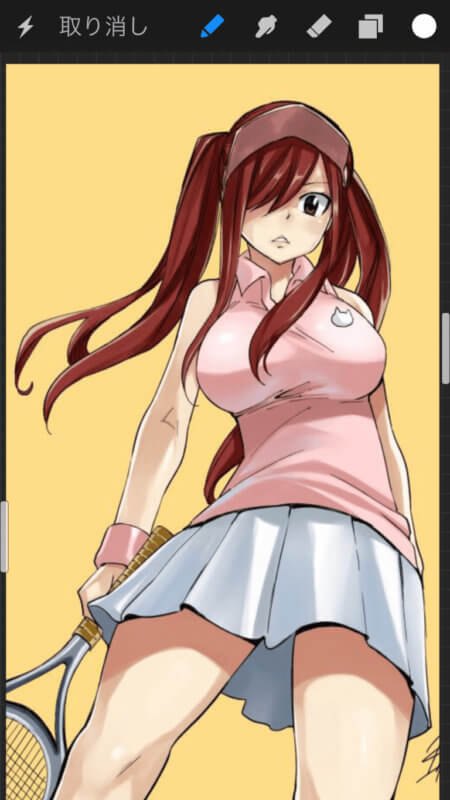
This time, touch the layer addition button on the upper left to create a new layerします。
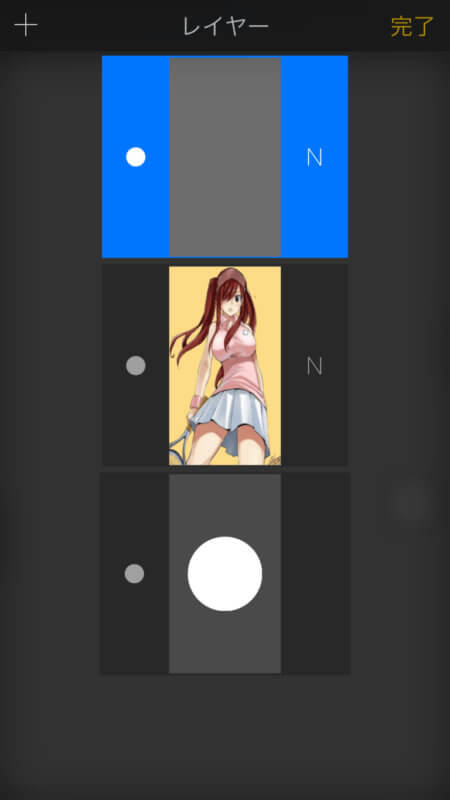
Then select the new layer to be blue and touch Done at the top right Blue means that it is the layer you are editing nowします。
You can switch on/off by touching the left side of the layer, but it will not be displayed on the sketch screen without it.ります。
This time, add a photo and a new layer and proceed with the new layer selected in blueめます。

pen settings for drawing

Next, touch the color button on the upper right to adjust the pen colorす。
You can choose your favorite color here。
I don't know what color is good, but in my case, I chose black for the time being.た。
Next is the size of the pen。
If you touch the pen-shaped button in the center, you will see a pen selection screen like this。
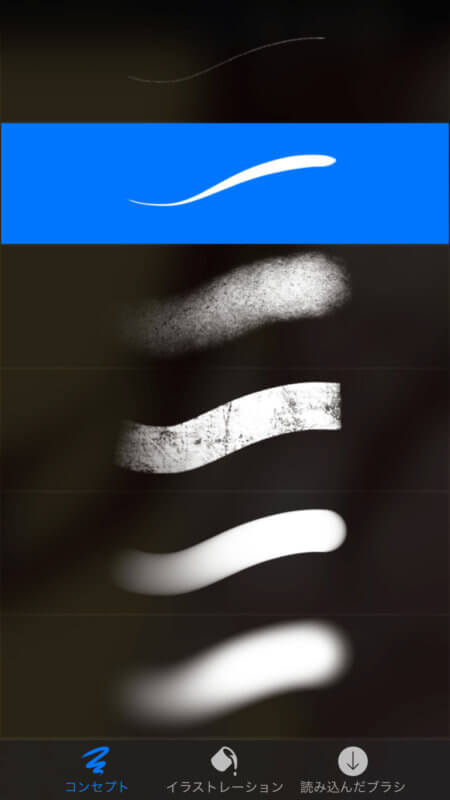
There are various types, but the one in the lower right is the concept used for drawing lines, and the one in the middle is used for coloring in illustrations.れます。
At first, I chose the thin line at the top of the concept and wrote it, but it didn't look like an anime illustration, so I chose the second one from the top.した。
Other operation instructions
Next is a description of the operation。
Looking over the whole, there are things like walls on both left and right endsす。

The left side is for adjusting the thickness of the pen, and you can adjust it by moving up and down while touching it.す。

The right side is for adjusting the density, and you can adjust it by moving up and down while touching in the same way.す。
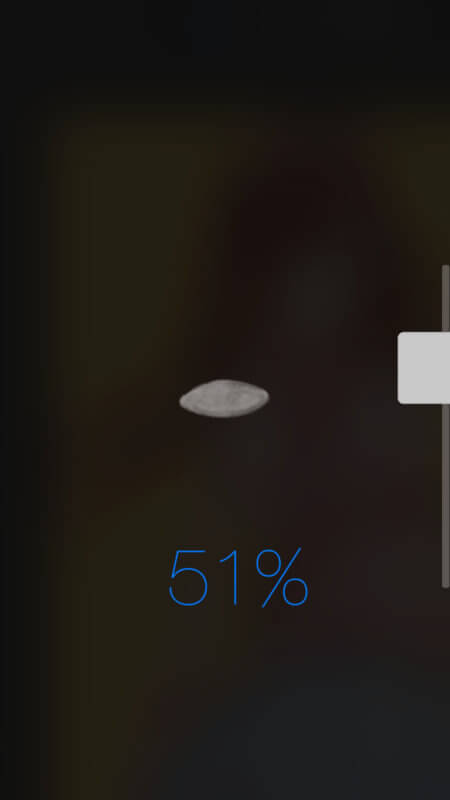
Also, the entire layer can be scaled with two fingers, so use it as needed.ます。


Then, while repeating enlargement and reduction, I will simply write along the lines of the captured photo.きます。。
actually draw
line drawing

Here is what I came up with。
coloring method
I'll color it when I'm done。
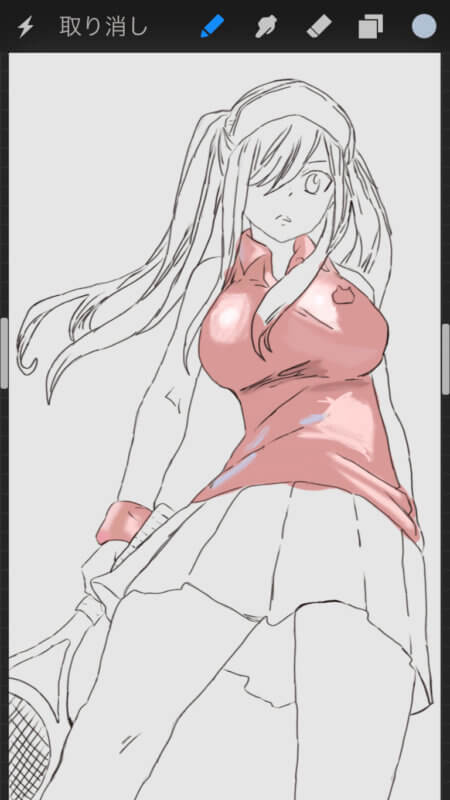
When coloring, it will be confusing if it mixes, so make a new layer again and make it blue and select it.します。
The top and bottom order of this layer is so that the one on the top is displayed as it is on the topす。

When coloring, if you press and hold the color you want to capture in the captured photo, the color will change, so if you use the color as it is, you can create it in the same way as the captured photo.ます。
Also, please adjust the type and thickness of the pen according to the photograph taken at this time.さい。
I don't have any knowledge about art, so this is my method.りました。
Afterwards, use the 3rd eraser from the upper right to erase the overpainted areas, and use different types of pens to blend the colors well.ます。
jacket layer
If you do that, it will look something like this. The lines may protrude, but if another layer is covered over the protruding part, it will not be visible.ます。
hair layer
Like this hair part and、

skirt layer
skirt part、

layer of skin
part of the skin、

racket layer
I will color the racket part。

Complete background layer成
Then create a background layer and it will be completed like this It probably took about 4 hoursました。

Preservation method
When completed, select the gallery from the advanced tools on the upper left and return to the TOP screenす。
Press the gear on the top left to select the page you want to save and save it in various formats from the output screen on the bottom leftす。
Video extraction
Among them, there is a button that will show you how to draw from the beginning to the end in a fast-forward video, so I will post that as a bonus this time.ます。https://youtu.be/Lmjwy-foPMQ
summary
Anyone can easily draw a decent picture using this method.す。
I just drew this with my finger and iPhone, so my eyes got tired, and I didn't grasp the whole picture, and I was doing lines and coloring. I think it's good思います。
It's getting fun, so I'm considering buying an iPad and a stylus pen lol(笑)


